NotEnoughTECH Review: RasPad 3.0: turning Raspberry Pi 4 into a tablet

It’s been a great year for Raspberry Pi 4 owners. From PC alike enclosures from DeskPi and Argon40 to STEM-oriented laptops by Elecrow. They can’t complain about the lack of choices. Now RasPad 3.0 is out, and you can turn your favourite maker board into a pretty swanky tablet. I’ve got one in my hands, thanks to SunFounder, so it’s time to share my impressions.
RasPad 3.0 – just add water Raspberry Pi
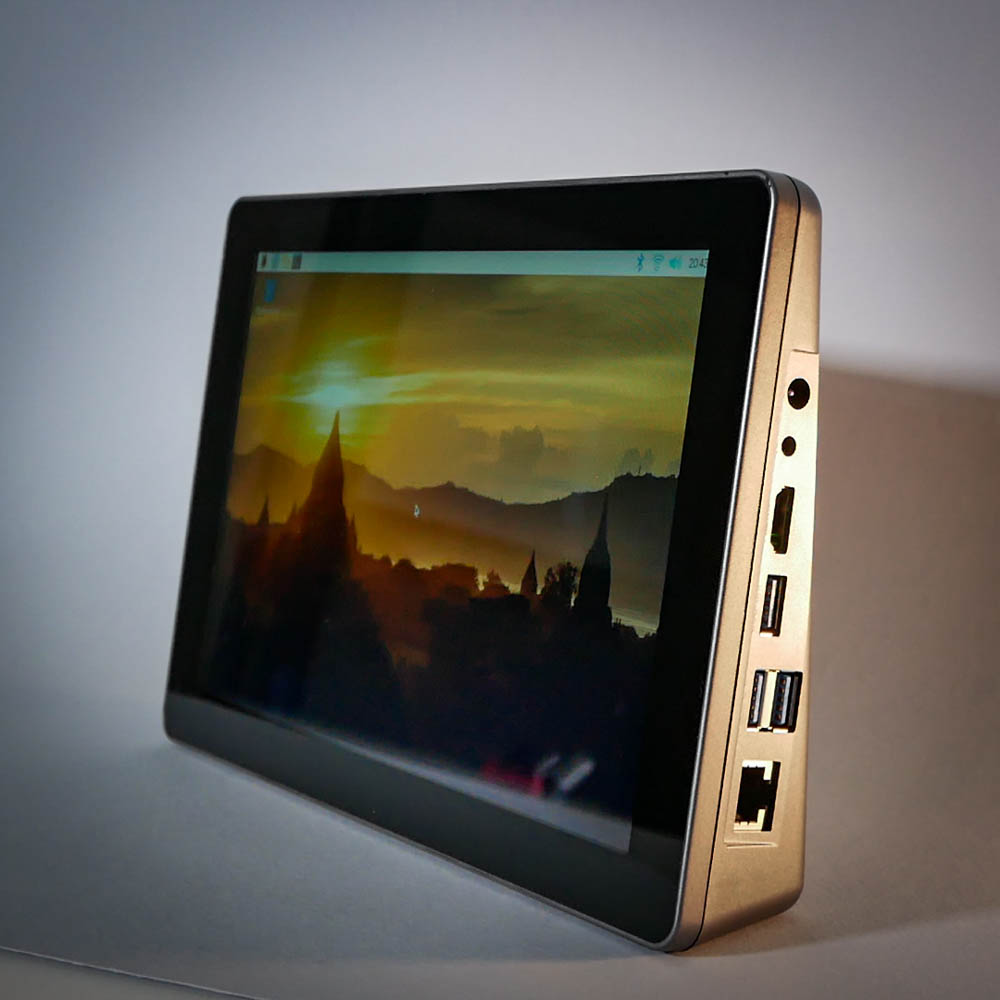
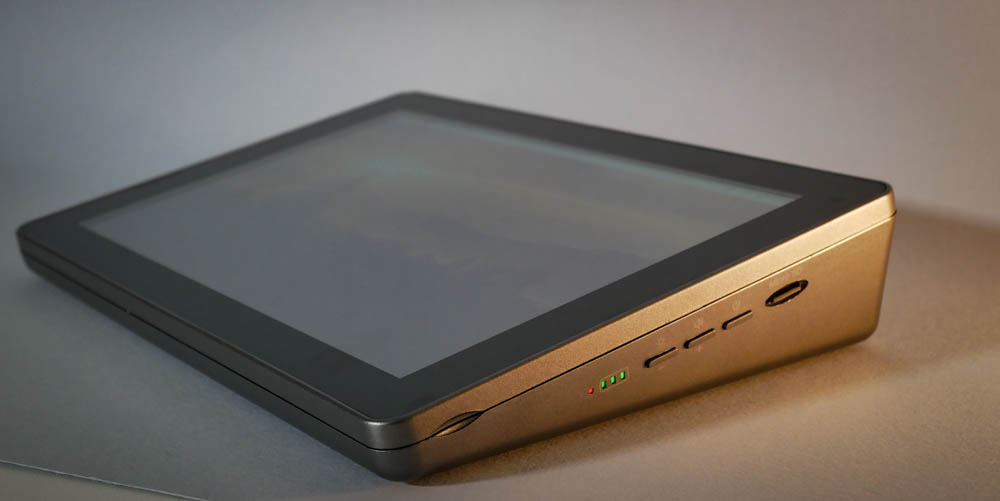
What you get, is a shell for your Raspberry Pi 4 which will turn your board into a pretty interesting tablet. RasPad 3.0 doesn’t have a usual tablet look. It’s shaped like a wedge. As you can’t make a slimmer device without using a CM4 board, the tablet is taking advantage of the size constraints and optimises for the most convenient screen angles. Whether used flat on the desk, or as a vertical display, RasPad 3.0 positions the screen in comfortable for viewing angles.
The box contains everything to build one yourself, and the process is very simple. Remove a couple of screws, position your Raspberry Pi 4 board in a dedicated space, use cables provided to connect the IO and you are ready to roll. There is a dedicated accelerometer board if you are interested in autorotation. Considering that RasPad 3.0 already comes with custom PCBs inside, this approach to auto-rotation feels like an afterthought.
Without the accelerometer, RasPad 3.0 won’t have autorotation and an on-screen keyboard will also give you headaches. So take your time to fix the module properly. It’s something I haven’t done in my live stream and got to bite me in the end.
Awesome display
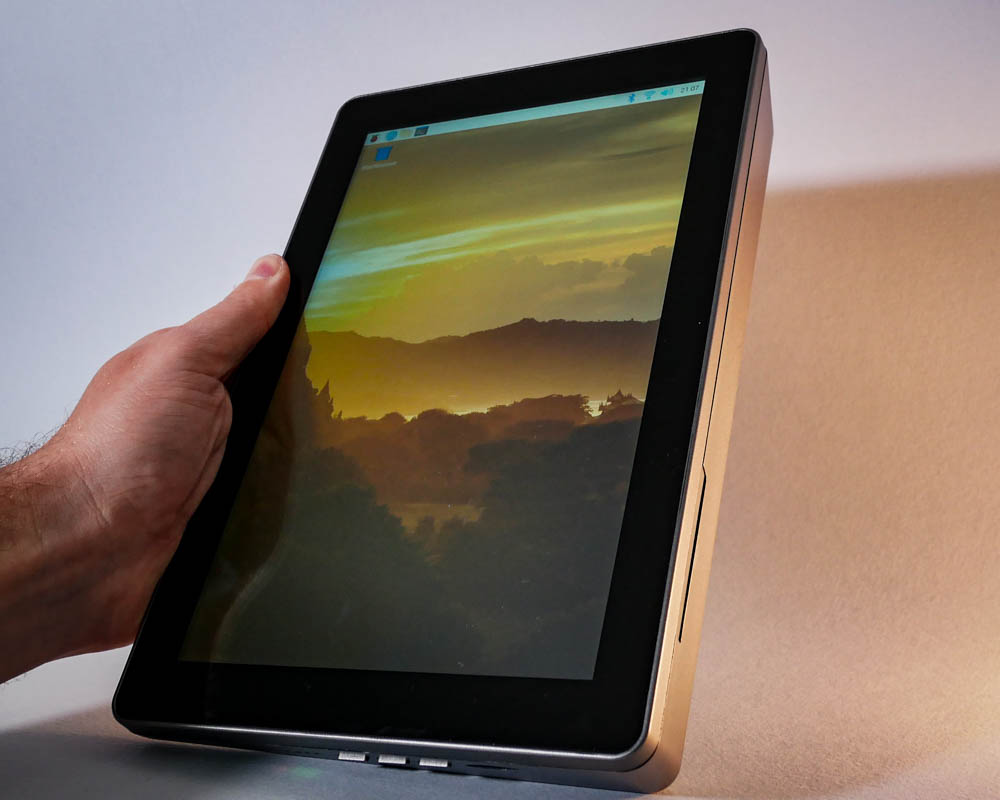
RasPad 3.0 shell comes with a 10.1″ display with 1280×800 resolution and 10 point touch interface. It’s a really nice looking ISP panel, bright and with great colour reproduction. I actually thought that it’s a 1080p panel at first. I could be disappointed at not having a 1080p display, but honestly, the resolution and the screen side work well together so I’m not complaining. It’s a better display than I had seen on other budget Android devices.
While on the subject of the shell, RasPad 3.0 also provides access to GPIO. You will need a 40-pin ribbon connector, but it’s possible to route it out. Note, that doing so will prevent the device from being used in vertical mode. I would appreciate another cut out at the back so you can route the cables out and keep the device upright. As the shell is made out of plastic – it’s an easy fix.
In action
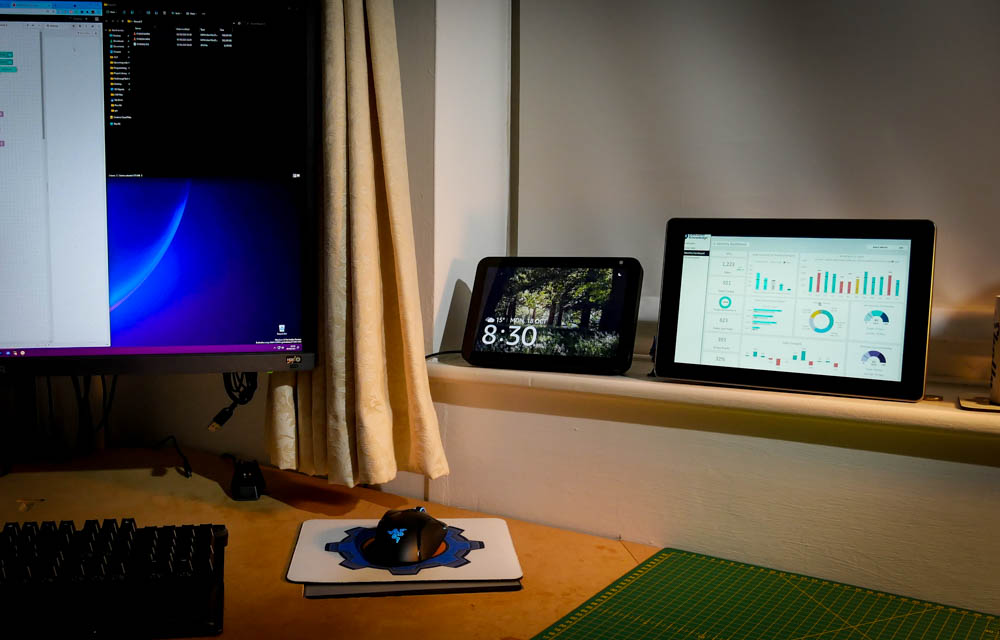
My configuration sports Raspberry Pi 4 8GB RAM edition – the most powerful board for the RasPad 3.0. In use, it worked pretty well. The touch screen is responsive and typing on the on-screen keyboard is similar to what you’d get from any other tablet. These are never comfortable to use for tablets, but it works in a pinch. I found the wedge of the RasPad 3.0 slant the ISP panel nicely for both on the desk and as a smart display configuration. It looks sleek and it’s more sturdy than whatever tablet stand you will use with traditional tablets with a slim form factor.
RasPad 3.0 is a shell for a Raspberry Pi 4 and the OS experience is on par with what you would expect from any other Raspberry Pi 4 based setup. The biggest advantage is the nice ISP panel, touch interface and built-in battery.
Automatic screen orientation takes 1-2 sec to kick in. It’s less responsive than what I’m used to with modern phones, but the experience isn’t deal-breaking. Yes, you can use the tablet in any orientation with the screen rotating appropriately.
Weak points
No device is perfect and RasPad 3.0 isn’t any different. After using it for some time, I came across things that could be resolved in a better way. Let’s start with the most annoying bit. Granted, you have to do it once, but RasPad 3.0 isn’t shipped with any supporting software. You are expected to set everything yourself. I would really appreciate an edition of Raspberry Pi OS to download with software add-ons pre-installed. Fortunately, it doesn’t take much time to set up, but you will need SSH access or an external keyboard to get it done. Instructions are here.
Software
Intended to be used as a tablet, the suggested keyboard software (onBoard) is not the highlight for sure. To make the keyboard work correctly, you actually need the hardware sensor installed otherwise it bugs out. The biggest annoyance is the fact that the keyboard won’t pop out in folders automatically. You can bring it up in the web browser, but clicking on the folder directory address doesn’t and you have to use the shortcut.
The right-click “hack” is a hack, and it takes a good few seconds to get the menus up. I’m actually surprised how clunky this all is on Raspberry Pi OS. I wonder if other Linux distros have touch interfaces figured out better.

Battery and power
With 3 x 18650 cells inside, RasPad 3.0 will run only a couple of hours. The power-on time will strongly depend on your workload. Considering how much space the device has inside, it should be possible to extend the battery life by adding extra 3 cells. As is, RasPad 3.0 battery life is shorter than I would expect from a device with this form factor.
While we are on the subject of power supply, the lack of USB-C sticks out most. Since the USB-C PD is capable of delivering 15V, I’m not sure what stopped the design team from implementing this. I’m actually really tempted to use a USB-C decoy to get this done, just like I did it in my USB-C laptop makeover.
Screen sleep is also problematic. I found out (after 2h of looking for issues) that while you can SSH to RasPad 3.0 while the screen is off (the device isn’t in deep sleep), the USB ports are unpowered leaving you with issues. I can understand the thought process behind it, but some warning would be nice.
Lastly speaking of USB ports exposed on the side, there are 3 of them (USB 3.0) connected to a single USB 3.0 port inside the case. We are not only one port short, but sharing the bus between ports. I’d appreciate a proper breakout for all the ports.
Other
Despite rather big and glaring bezels, RasPad 3.0 has no webcam. It’s a shame, as considering the device’s size, it shouldn’t be hard to add one. Thankfully, the back shell of the device has a slot for the camera ribbon cable and you can connect Raspberry Pi compatible cameras.
Show me…
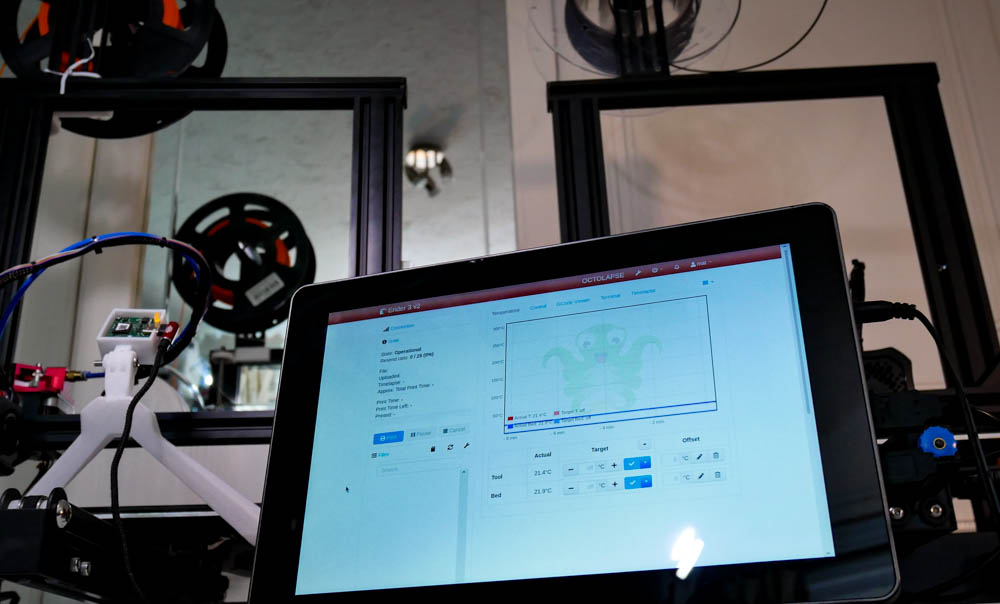
Unlike, CrowPi2, RasPad 3.0 isn’t a learning tool. It’s designed to turn your Raspberry Pi 4 into a portable display platform for your projects or for monitoring systems on the go. You could turn it easily in a till-alike device for a store or a coffee shop, turn the system into the central dashboard for your home automation and a portable screen that you can take with you and connect to other devices.
I successfully used it to drive 2 instances of OctoPrint to monitor my Ender 3 and Ender 3 v2 3D printers. Having a screen nearby is more convenient than checking stuff on the phone or turning on my PC.
Thanks to my Shelly 1PM mod, I don’t even have to turn on the 3D printer, Octoprint will take care of that when needed. The Pictured setup is a bit rushed but proves the usefulness of the RasPad 3.0.
I used docker to set up multiple instances and Firefox in full-screen mode to display the web interfaces for each printer. It actually works pretty well and I will consider making this a more permanent part of my printing setup. When that happens, expect a proper write up about it.
Final thoughts
Thanks to a really good display, RasPad 3.0 is an interesting platform for anyone needing a large touch display for their Raspberry Pi device. It could make for an interesting point of sale til for businesses looking for open-source software. At $219 RasPad 3.0 is not the cheapest shell for Raspberry Pi 4, but considering prices for good displays, the price isn’t entirely unreasonable. I’m going to experiment more with multiple 3D printing setups for a single print server. If you want to read more about it, stay tuned! Let me know what do you think about RasPad 3.0 in this Reddit thread.
Source: By Mat Zolnierczyk

